
easy wood projects
The first step in getting ready to whittle is to be sure you have a very sharp knife. A rule that I try to follow is to check the sharpness of my knife and strop it if necessary, after every whittling session. This means that my knife will always be ready to whittle.
The deer that I am whittling is very small. Some times I leave a "handle" on the blank when I cut it out. If you are not comfortable whittling this small, increase the size of the pattern/blank.
One of the things I like about whittling and carving, is that there are very few rules. When I whittle animals, the first knife cuts I make are STOP CUTS, that isolate the head from the body. With the baby deer this stop cut will be at the jaw line on each side of the head.

Next, make stop cuts at each of the four corners where the previous stop cuts were made. Remove a chip from each of the four corners.

Begin to thin the neck by removing thin slices of wood up the the previous stop cuts, then start to round over the edges of the neck.

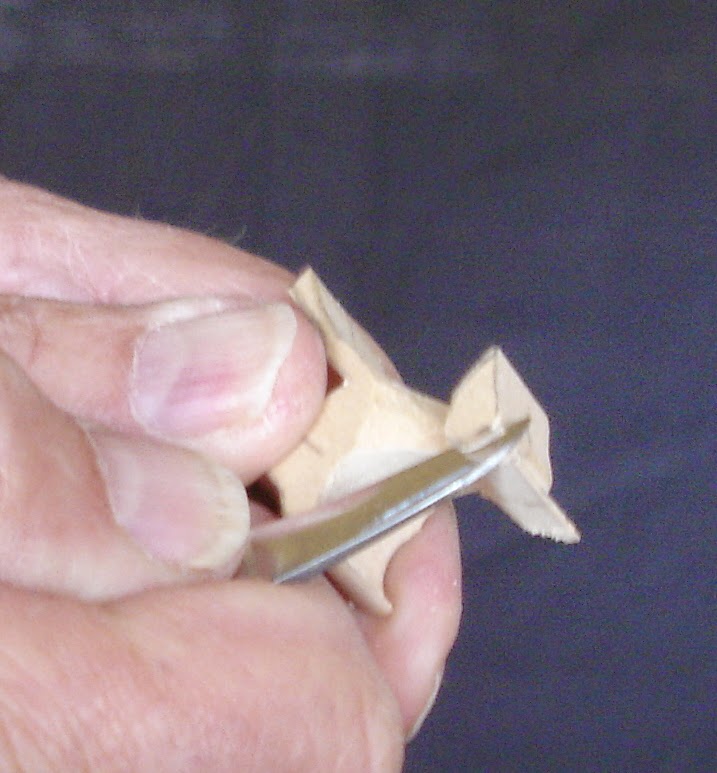
Next, thin the head by removing thin slices of wood from the outside of the ears down to the stop cuts at the jaw line. After the head is thinned and tapered, try to "roll" your knife from the outside of each ear down to the stop cut at the jaw line. By using the "rolling cut" we want to leave the tip of the ears stand out wider than the deers head.

Shape the deers belly. Make stop cuts between the front legs and the belly, and between the rear legs and the belly. Make these stop cuts on both sides of the baby deer. Shape/round over the deers belly between these stops.

Make a stop cut at the base of the tail.

Narrow the tail.

Begin to shape the rear legs. After the rear legs are shaped do the front legs.


Separate and shape the ears.


This is what youll have. Leave it this way or sand it. Paint/stain or leave natural.

easy wood projects


0 komentar:
Posting Komentar