
easy wood projects
Heres a step-by-step tutorial for those who dont wait until the last possible moment to whittle some Christmas gifts. I thought it might be nice to have a small Christmas tree as part of my display at a Christmas sale. I thought it would be nice to have the tree covered with some whittled ornaments.Im thinking about a 30 inch tree. This will mean lots of whittled ornaments. This also means an ornament that does not take a lot of time to whittle nor to apply finish. Heres what I came up with; a variation on the 5 minute wizard.

You can see that weve drawn the Gnome on the corner.

Use the scroll saw to remove the excess wood.

Make stop cut across the bottom of the Gnomes hat. Carry these stop cuts around the edges of your blank.

Use a thumb assisted push cut up to the stop cut at the bottom of the hat. Make these cut across the hats bottom to make the hat stand out from the Gnomes face.


Using the tip of the knife make a plunge stop cut at the sides of the nose.

.Remove the chip that is formed by these two stop cuts at the side of the nose.

Chip removed from the side of the nose and the top of the eye area.

Make a stop cut that defines the top of the Gnomes mustache.

Widened stop cuts at mustache top, with another stop cut angled into the first stop cut.

Make stop cuts that define the bottom of the mustache and remove wood up to these stop cuts at the bottom of the mustache.

Round the tip of the nose, and shape the sides of the nose.
Using the knife, shape the Gnomes hat and his beard. This can be accomplished
by merely tapering the hat towards its top, and the beard to the bottom.
Gnomes hat and beard tapered.

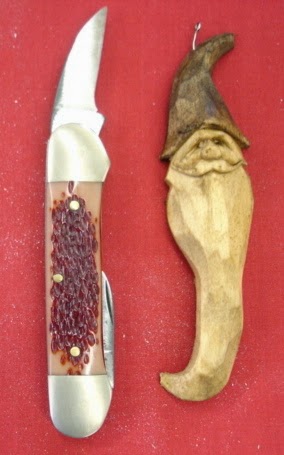
This Gnome Christmas tree ornament is about 4 inches long, yours can be shorter or longer. And since Im planning on using mine on a tree by themselves, I will need lots. This means Ill finish them with stain or leave them natural. When ever I can I like to let the wood show. However, they would look super painted.

easy wood projects


0 komentar:
Posting Komentar